Are you ready to dive into the world of SSH login for IoT on your Mac? If you're here, chances are you're either a tech enthusiast or someone looking to unlock the full potential of your IoT devices. SSH login is one of the most powerful tools for remote management, and in this guide, we'll show you how to harness its power seamlessly on macOS. So buckle up, because this journey is about to get interesting!
Let's face it, the internet of things (IoT) has taken the world by storm. From smart home devices to industrial automation, IoT is everywhere. But managing these devices remotely can sometimes feel like a maze. That's where SSH comes in. It's like having a secret key that lets you control your devices from anywhere in the world. And guess what? Your Mac is perfectly equipped to handle it.
This guide isn't just another tech article. We're going to break down everything you need to know about SSH login for IoT on Mac in simple terms. Whether you're a beginner or an advanced user, there's something here for everyone. So, without further ado, let's get started!
- Bolly4you Your Ultimate Destination For Bollywood Entertainment
- Bolly4u Org 2025 The Ultimate Guide To Your Favorite Movie Hub
Understanding SSH: What It Is and Why It Matters
SSH stands for Secure Shell, and it's basically the superhero of remote access tools. Imagine being able to log into your IoT devices from your Mac without worrying about security breaches. SSH encrypts all your data, making it super hard for hackers to intercept your communications. It's like having a private conversation in a crowded room, where only you and your devices can hear what's being said.
But why does SSH matter so much in the IoT world? Well, with IoT devices becoming more prevalent, the need for secure remote access has never been greater. Whether you're monitoring your home security system or managing a fleet of industrial sensors, SSH ensures that your data stays safe and your devices remain under your control.
SSH Login Basics: A Quick Overview
Before we dive into the nitty-gritty, let's cover some SSH basics. When you perform an SSH login, you're essentially establishing a secure connection between your Mac and your IoT device. This process involves a few key components:
- 7 Movierulz 2025 The Ultimate Guide To Movie Streaming In The Future
- Movie Hd Hub 4u Your Ultimate Destination For Highquality Entertainment
- Client: Your Mac, where you initiate the connection.
- Server: Your IoT device, which accepts the connection.
- Keys: These are like digital passwords that authenticate your identity and ensure secure communication.
Think of it like a handshake between your Mac and your IoT device. Once the handshake is complete, you're good to go!
Setting Up SSH on Your Mac: Step-by-Step Guide
Now that you understand the basics, let's talk about setting up SSH on your Mac. Don't worry; it's easier than you think. Follow these steps, and you'll be up and running in no time:
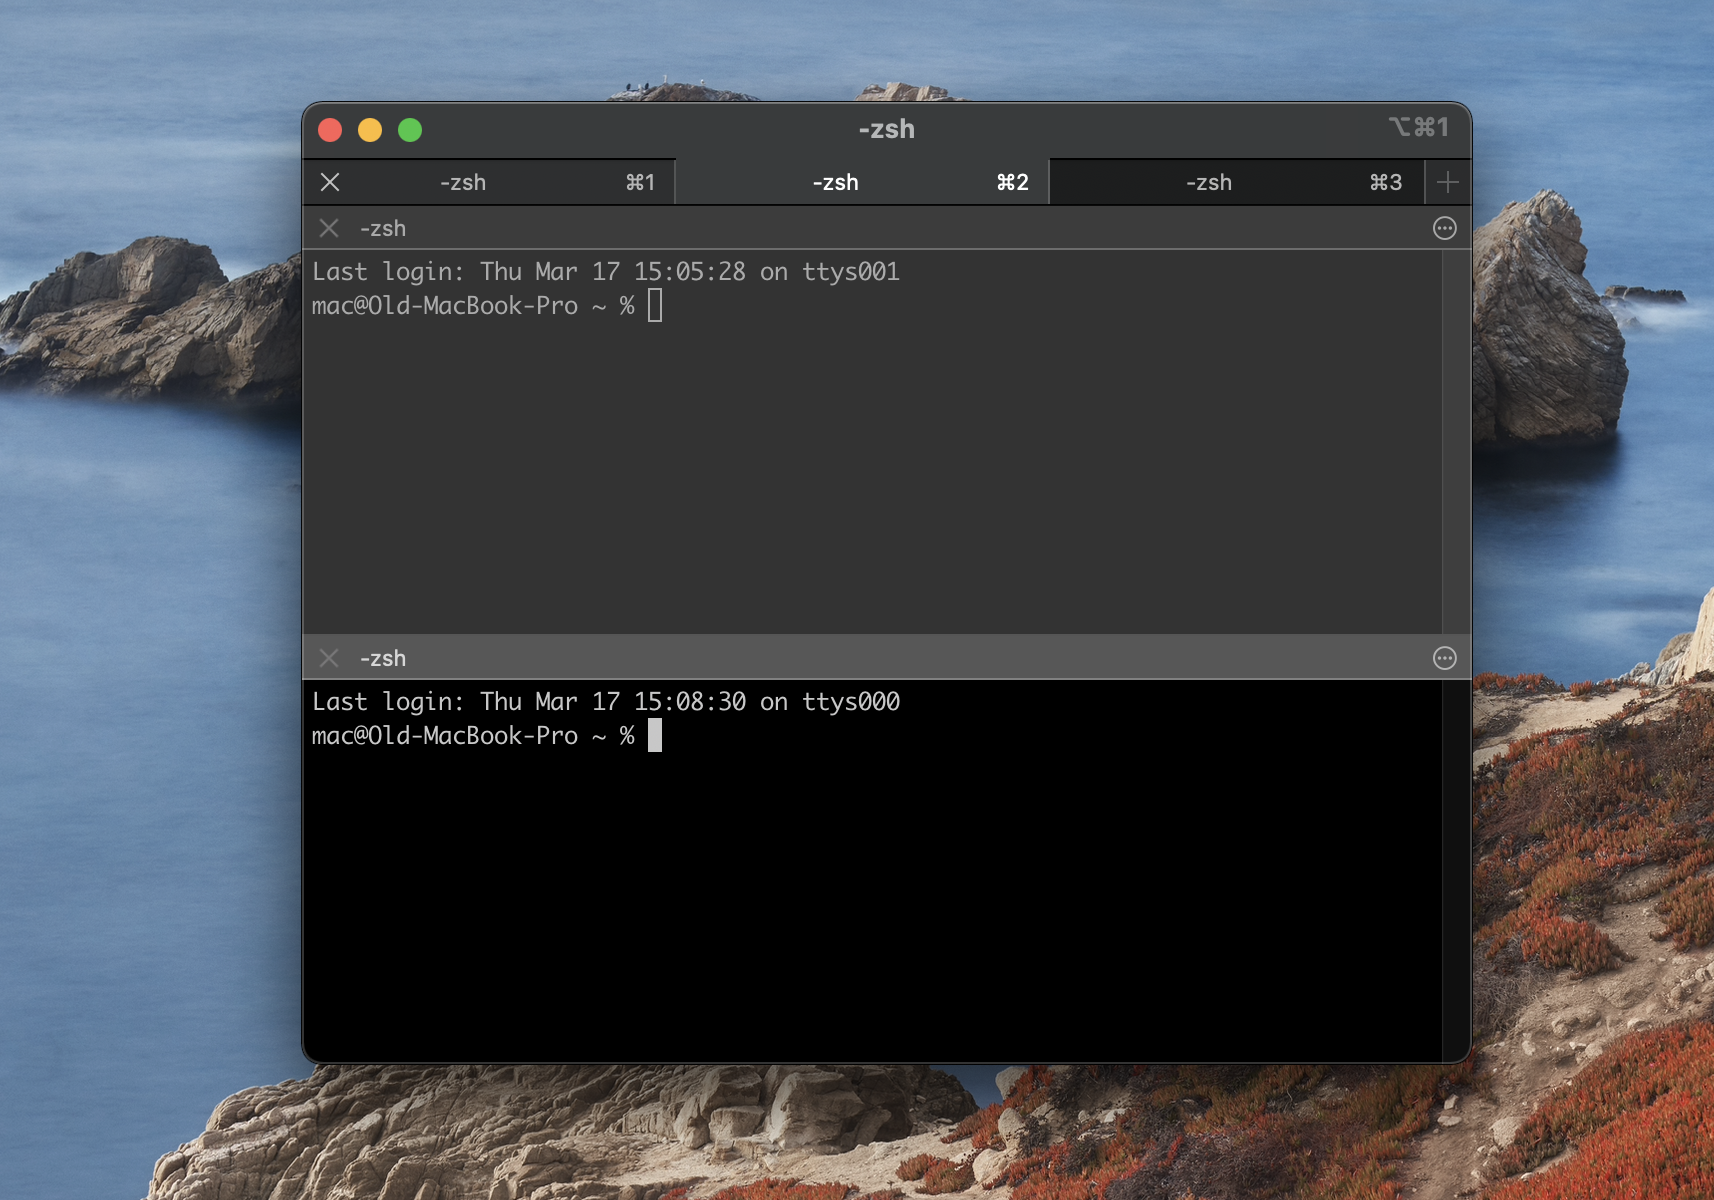
First things first, you need to make sure your Mac has SSH installed. Lucky for you, macOS comes with SSH pre-installed. All you need to do is open the Terminal app. You can find it by searching for "Terminal" in Spotlight or navigating to Applications > Utilities > Terminal.
Connecting to Your IoT Device
Once you have the Terminal open, it's time to connect to your IoT device. Here's how you do it:
- Open Terminal on your Mac.
- Type the following command:
ssh username@device_ip_address. Replace "username" with the username of your IoT device and "device_ip_address" with the actual IP address of your device. - Hit Enter, and you'll be prompted to enter your password.
- Once you've entered the password, you'll be logged in to your IoT device.
It's as simple as that! Now you're ready to start managing your IoT devices remotely.
Generating SSH Keys for Enhanced Security
While using passwords is fine for basic SSH connections, generating SSH keys adds an extra layer of security. Think of it like upgrading from a regular lock to a deadbolt. Here's how you can generate SSH keys on your Mac:
Step 1: Open Terminal
Open the Terminal app on your Mac. You can find it in Applications > Utilities > Terminal or by searching for it in Spotlight.
Step 2: Generate the Key Pair
Type the following command in the Terminal:
ssh-keygen -t rsa -b 4096 -C "your_email@example.com"
This command generates a new RSA key pair with a key size of 4096 bits. Replace "your_email@example.com" with your actual email address.
Step 3: Store the Keys
When prompted, press Enter to save the keys in the default location. You can also set a passphrase for added security. This passphrase will protect your private key if someone gains access to your computer.
Step 4: Copy the Public Key to Your IoT Device
Now that you have your SSH keys, it's time to copy the public key to your IoT device. Use the following command:
ssh-copy-id username@device_ip_address
Replace "username" and "device_ip_address" with the appropriate details for your IoT device.
That's it! Your SSH keys are now set up, and you can log in to your IoT device without needing a password every time.
Downloading SSH Clients for Mac
While macOS comes with SSH pre-installed, some users prefer using dedicated SSH clients for a more feature-rich experience. Here are a few popular options:
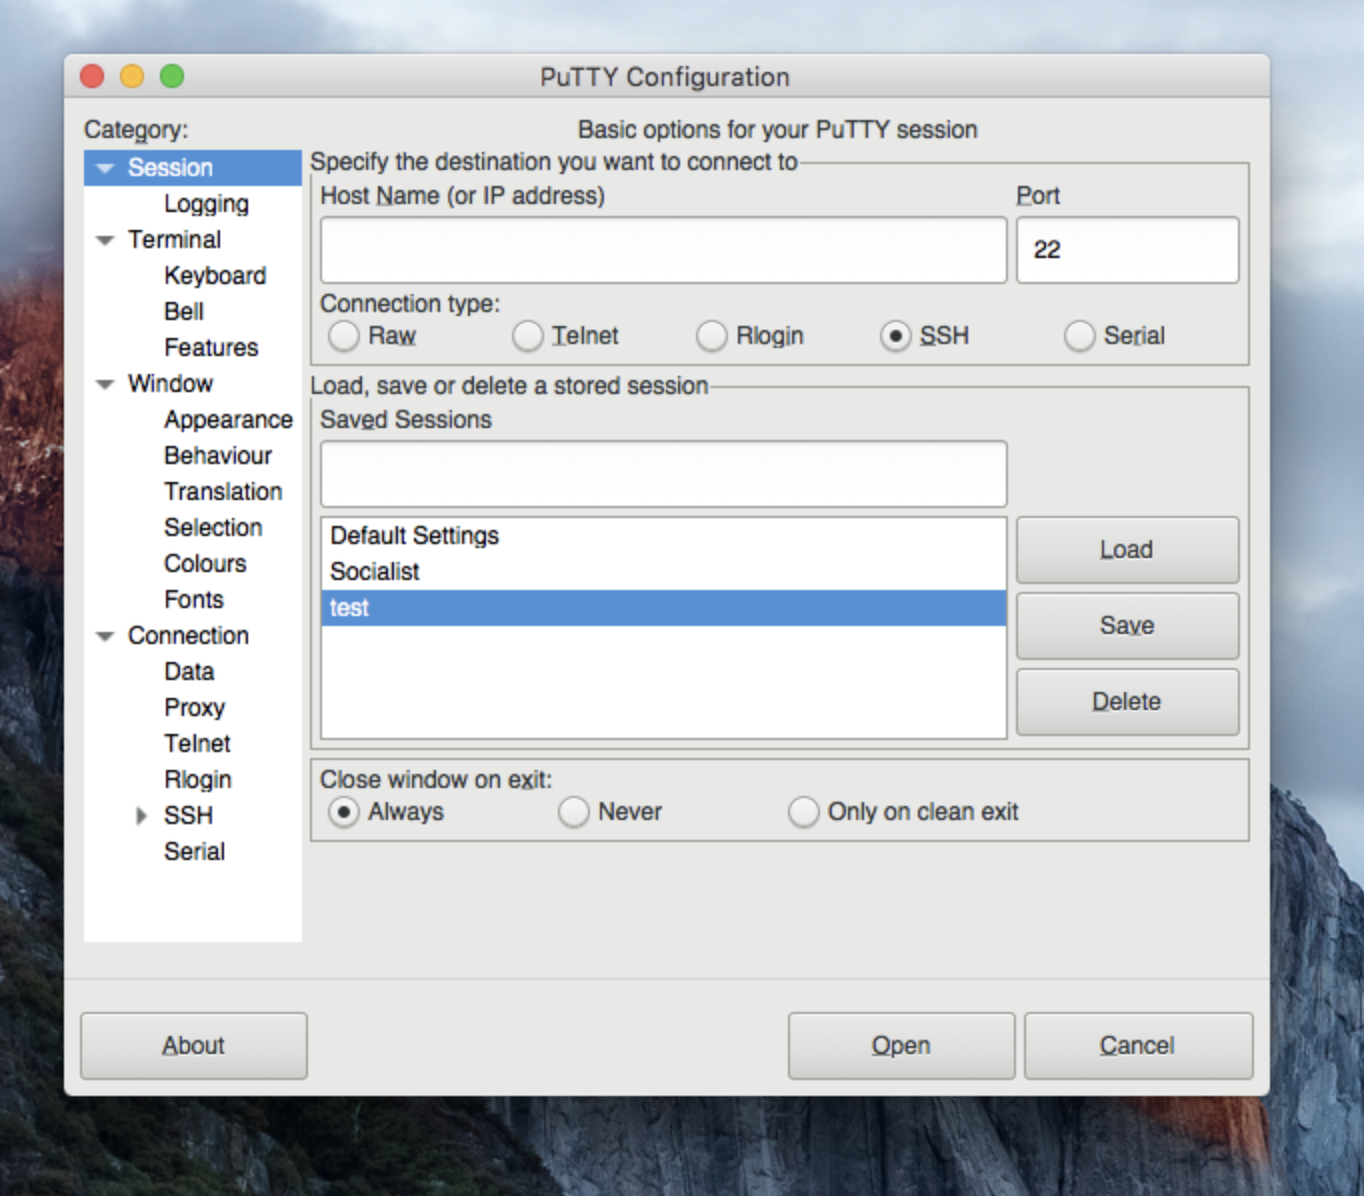
1. PuTTY (for Mac Users)
PuTTY is a classic SSH client that has been around for years. While it's primarily designed for Windows, there are Mac versions available. PuTTY offers a user-friendly interface and supports various authentication methods.
2. Cyberduck
Cyberduck is another great option for Mac users. It's not just an SSH client; it's also a powerful file transfer tool. With Cyberduck, you can easily manage files on your IoT devices and perform remote operations.
3. MobaXterm
MobaXterm is a versatile SSH client that offers a range of features, including session management, X11 forwarding, and support for multiple protocols. It's a great choice if you're looking for a comprehensive solution.
Choose the client that best suits your needs, and you'll have even more control over your SSH connections.
Best Practices for SSH Login on IoT Devices
Now that you know how to set up SSH on your Mac and connect to your IoT devices, let's talk about some best practices to ensure a secure and efficient experience:
- Use Strong Passwords: If you're not using SSH keys, make sure your passwords are strong and unique.
- Enable Two-Factor Authentication (2FA): This adds an extra layer of security to your SSH connections.
- Regularly Update Your Devices: Keep your IoT devices and Mac up to date with the latest security patches.
- Limit Access: Restrict SSH access to only the users who need it.
By following these best practices, you'll significantly reduce the risk of unauthorized access and ensure the security of your IoT devices.
Troubleshooting Common SSH Issues
Even with the best setup, things can sometimes go wrong. Here are some common SSH issues and how to fix them:
1. Connection Refused
If you're getting a "connection refused" error, it could mean that the SSH service is not running on your IoT device. Check the device's configuration and make sure SSH is enabled.
2. Permission Denied
A "permission denied" error usually indicates a problem with your authentication. Double-check your username, password, and SSH keys to ensure everything is set up correctly.
3. Timeout Errors
Timeout errors can occur if there's a network issue or if the device is unreachable. Verify your network connection and ensure the device is online.
With these troubleshooting tips, you'll be able to resolve most SSH issues quickly and efficiently.
SSH Login for IoT: Real-World Applications
Now that you've mastered SSH login for IoT on your Mac, let's explore some real-world applications:
1. Home Automation
With SSH, you can remotely manage your smart home devices, such as thermostats, lighting systems, and security cameras. Imagine adjusting your home's temperature or turning off lights from anywhere in the world.
2. Industrial Automation
In the industrial sector, SSH is used to monitor and control sensors, machines, and other equipment. This ensures smooth operations and minimizes downtime.
3. Data Collection
SSH can be used to collect data from remote sensors and devices, making it an invaluable tool for researchers and scientists.
These are just a few examples of how SSH can be applied in the IoT world. The possibilities are truly endless!
Conclusion: Take Your IoT Experience to the Next Level
SSH login for IoT on Mac is a game-changer for anyone looking to manage their devices remotely. By following the steps outlined in this guide, you can set up a secure and efficient SSH connection that empowers you to take control of your IoT devices from anywhere in the world.
Remember to always prioritize security and follow best practices to protect your devices and data. And don't forget to explore the many applications of SSH in the IoT world. The more you experiment, the more you'll discover the true potential of this powerful tool.
So, what are you waiting for? It's time to take your IoT experience to the next level with SSH login on your Mac. Share this article with your friends, leave a comment below, and let us know how you're using SSH to enhance your IoT setup. Happy hacking!
Table of Contents
- Understanding SSH: What It Is and Why It Matters
- Setting Up SSH on Your Mac: Step-by-Step Guide
- Generating SSH Keys for Enhanced Security
- Downloading SSH Clients for Mac
- Best Practices for SSH Login on IoT Devices
- Troubleshooting Common SSH Issues
- SSH Login for IoT: Real-World Applications
- Conclusion: Take Your IoT Experience to the Next Level
- Table of Contents
- Additional Resources
Additional Resources
For more information on SSH and IoT, check out these trusted resources:
Stay informed and keep exploring the exciting world of SSH and IoT!
- Tamilblasterscom Your Ultimate Destination For Tamil Movie Entertainment
- 5movierulz Kannada Movie Your Ultimate Guide To Streaming And Downloading